No products in the cart.
ND Miata Sequential LED Rear Indicator & Brake Light Conversion Guide
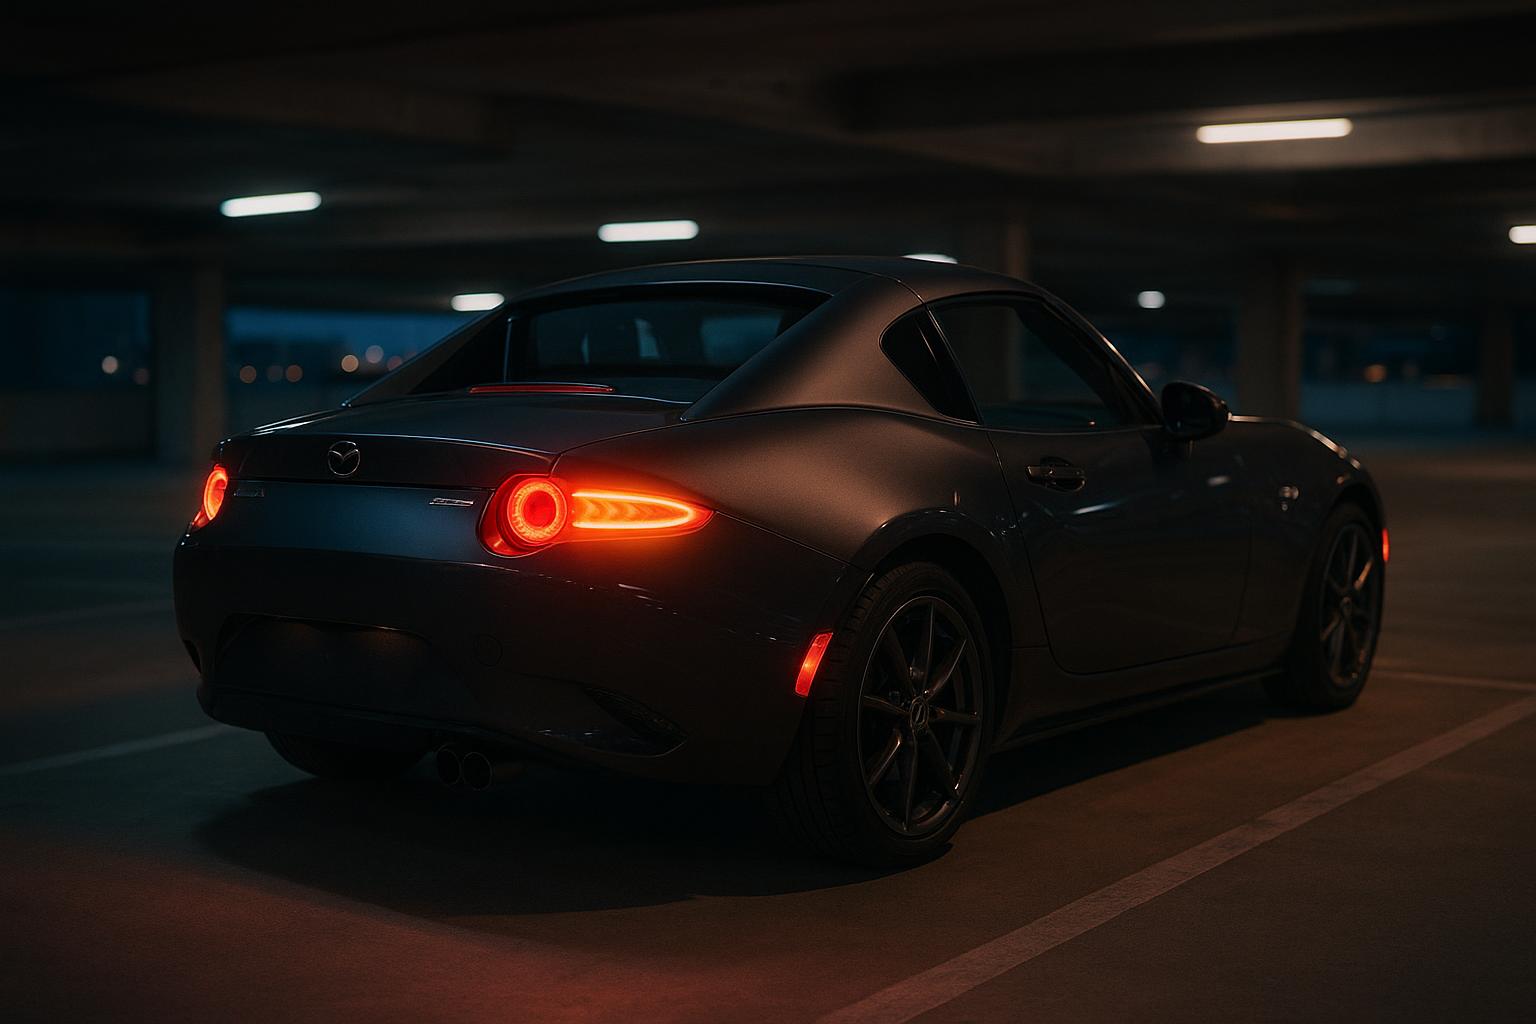
If you want your ND to look sharper, communicate better, and feel more modern from behind, an ND Miata sequential LED rear indicator upgrade is one of the cleanest changes you can make. The right conversion delivers brighter brake response, clearer turn-signal visibility, and a more premium lighting signature without ruining the car’s beautifully simple rear design.
For track builders, it is a safety upgrade. For styling enthusiasts, it is the detail that makes the car look finished. And for daily drivers, it is a real-world visibility improvement in rain, dusk, and stop-and-go traffic. If you’re already exploring ND Miata parts or comparing sequential LED tail lights for the ND, this guide breaks down what matters before you buy.
Why the ND Miata benefits from sequential LED rear lighting
The ND chassis already has one of the cleanest rear profiles in the MX-5 family, but the factory lighting can still feel conservative compared with the car’s crisp body lines. Sequential LEDs add motion to the signal, which makes the car more noticeable at a glance and gives the rear end a more technical, motorsport-inspired look. On a roadster that lives on visual precision, that matters.
Functionally, LED lighting responds faster than traditional incandescent bulbs. That quicker illumination can shave reaction time in following traffic, especially during abrupt braking. On a lightweight car like the ND, where momentum changes quickly, every bit of rear-end communication helps. It is a subtle safety advantage that becomes obvious the first time a distracted driver notices your brake lights instantly rather than a fraction later.
There is also the styling side. Sequential turn signals help the ND look more contemporary without turning it into an overbuilt show car. Because the factory taillight shape remains intact, the upgrade keeps the Mazda design language recognizable. That is why many owners prefer a plug-and-play module or a housing conversion that preserves OEM fitment and finish rather than a bulky aftermarket alternative.
For a broader context on the MX-5 platform, Mazda’s own heritage is worth a look through Mazda’s official brand history and the Mazda MX-5 overview, which shows how the car evolved while keeping its lightweight, driver-first identity.
What a plug-and-play conversion actually changes
Most ND sequential rear indicator upgrades fall into two categories: module-based conversions that work with the OEM lamp assembly, and full replacement tail lights that integrate sequential function directly into the housing. A plug-and-play module is the easiest path because it typically uses factory connectors, requires no wire cutting, and can be reversed later with minimal effort.
The typical conversion adds sequential turn-signal logic, brighter LED brake illumination, and in many cases a more defined running-light signature. Depending on the kit, the brake function may use a high-intensity LED array while the turn signal sweeps outward in stages. The result is cleaner signaling with better visibility from oblique angles, which is especially useful in lane changes and track paddock traffic.
Owners should pay attention to how the module handles flash rate, load balancing, and error prevention. Modern cars can be sensitive to changes in lighting resistance, so a proper kit should avoid hyperflash and dashboard warnings. A well-engineered conversion also maintains consistent brightness across left and right sides, because uneven output looks cheap and can distract from the car’s otherwise refined rear appearance.
If you want to compare the broader lighting ecosystem, browse the TopMiata shop and the Miata knowledge base for installation and ownership references that can help you choose the right parts the first time.
Installation basics and fitment checks
Installing an ND sequential LED rear indicator kit is usually straightforward, but clean fitment depends on patience and attention to detail. Start by confirming whether your car is a soft top or RF, since trim access and rear light packaging can differ slightly. Before opening anything, disconnect the battery and lay out your tools: a trim tool, small socket set, microfiber towels, and dielectric grease for connector protection.
After gaining access to the taillight area, inspect the factory connectors and harness routing. A true plug-and-play setup should click into place without forcing the pins or stretching the loom. Make sure the wiring is secured away from sharp edges and moving trim panels. If the kit includes resistors or a control module, mount them where they can dissipate heat safely and never let them rest against plastic surfaces for long periods.
Before reassembling everything, test all functions: running light, brake light, left turn, right turn, hazards, and reverse light if the assembly has been disturbed. This is the moment to catch a pinched connector or reversed polarity issue before panels go back on. A five-minute test can save an hour of trim removal later.
For owners who like to pair lighting with a cleaner rear-end visual, it is also a good time to inspect fitment around the bumper and consider related styling pieces such as ND rear boot lighting accents or an ND rear diffuser upgrade to complete the look.
Choosing the right LED setup for street, style, or track
Not all LED conversions are the same, and the best choice depends on how you use your ND. Street-driven cars benefit from a balanced setup with strong brake output, crisp sequential turn signals, and a smooth daytime running signature. Track-focused cars should prioritize brightness, reliability, and resistance to heat and vibration over flashy effects.
For spirited driving and autocross use, look for a module or housing that keeps the signal pattern obvious in direct sunlight. A weak sequential sweep can look good in a garage but disappear under daylight glare. High-output LEDs with proper optics stay visible when you are braking hard after a fast session or signaling in a crowded paddock.
For show-oriented styling, the best conversions are the ones that look OEM-plus rather than aftermarket-loud. The ND’s rear design is elegant, so the light pattern should enhance the car instead of overpowering it. A clean, evenly illuminated sweep with a modern startup effect can be enough to make the car feel newer without losing Mazda character.
Here is a quick comparison of common approaches:
| Setup | Install Difficulty | Visual Impact | Best For |
|---|---|---|---|
| Plug-and-play module | Low | Moderate to high | Daily drivers and first-time modifiers |
| Full sequential tail light assembly | Moderate | High | Style-focused builds |
| Brake-only LED upgrade | Low | Moderate | Safety-first owners |
Reliability, legality, and long-term ownership
Any rear lighting change should be checked against local road regulations, because sequential indicators and brightness levels can be treated differently depending on your region. In many markets, sequential turn signals are widely accepted, but color, flash rate, and visibility standards still matter. If your car is inspected annually, make sure the setup presents a legal amber signal where required and does not interfere with brake-light function.
Reliability is mostly about quality components and heat management. LEDs run cooler than halogens at the bulb, but control modules and resistors can still generate heat, especially if they are poorly mounted. Use secure connectors, verify weather sealing, and check the lights after a wash or heavy rain to ensure no moisture has entered the housing. A good kit should look factory-fresh months later, not foggy and inconsistent.
From an ownership perspective, sequential rear lighting is one of the rare mods that makes sense across generations. NA and NB owners often chase the classic look; NC owners lean toward modernizing the car; and ND owners get to sharpen an already excellent platform. If you want to continue building the car in a cohesive way, explore ND-specific exterior parts and compare them with other Mazda NA Miata parts to see how each chassis expresses the same lightweight roadster philosophy differently.
Pro tip: After installation, park the car 20 to 30 feet behind you at dusk and test the signals from the height of a following driver. That perspective tells you far more about real-world visibility than checking the lights from bumper height.
Final verdict: a smart upgrade that looks right on the ND
The best lighting mods do two jobs at once: they improve function and they make the car feel more complete. That is exactly why an ND Miata sequential LED rear indicator conversion has become such a popular upgrade. It improves rear visibility, modernizes the car’s signature, and keeps the roadster’s elegant shape intact.
If you want a modification that feels tasteful on the street, useful on track days, and visually satisfying every time you walk away from the car, this is it. Start with a quality plug-and-play solution, verify the fitment, and finish the rear of your ND in a way that feels intentionally Mazda rather than aftermarket for the sake of it.