No products in the cart.
Sequential LED Taillights for NA/NB Miata: Complete Buyer’s & Install Guide
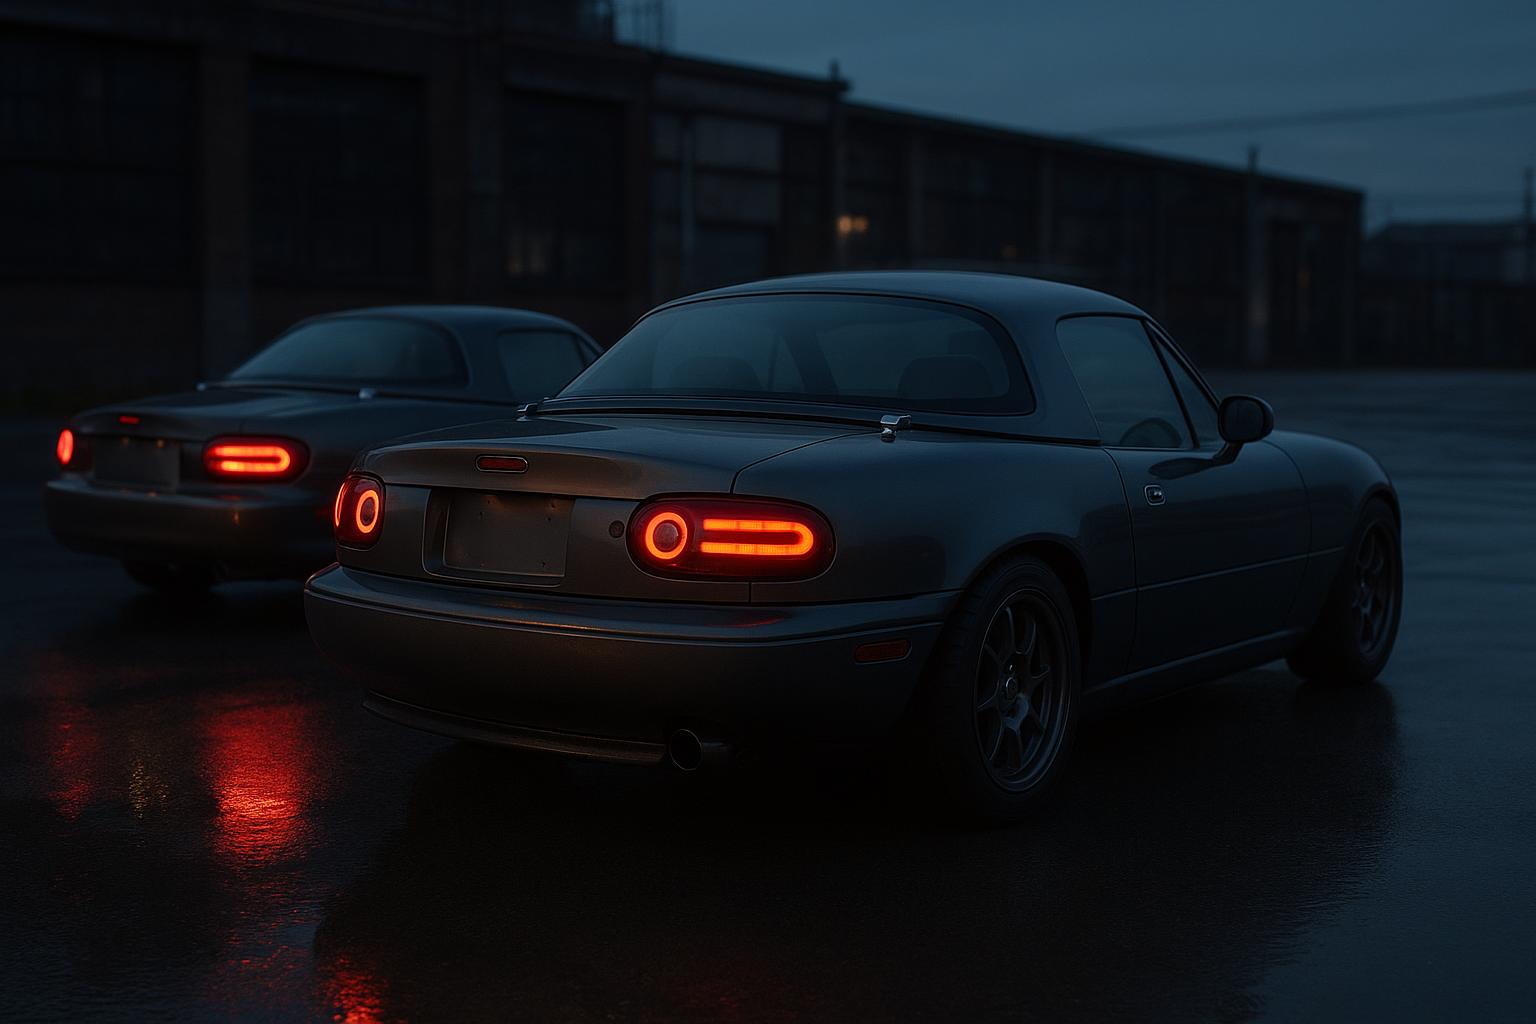
If you want a sharper rear-end signature without losing the charm of your classic roadster, sequential LED taillights for NA/NB Miata are one of the best OEM+ upgrades you can make. They modernize the car instantly, improve nighttime visibility, and give your MX-5 a cleaner, more intentional look whether it’s a weekend cruiser, autocross build, or show car.
The catch? Not every LED setup is created equal. Between custom layouts, wiring harness choices, and hyper-flashing issues, the right upgrade depends on how your car is wired, how you want the turn signal animation to behave, and whether you want a simple plug-and-play install or a more tailored build. This guide breaks down what matters before you buy.
Why Sequential LED Taillights Make Sense on the NA/NB Miata
The NA and NB generations were designed in an era when incandescent bulbs were still the default, so a properly executed LED conversion can dramatically improve rear-end clarity. Sequential movement is especially useful on a low, compact car like the Miata because the turn signal is easier to read from a distance, in traffic, or in poor weather. It is not just a styling trick; it is a functional visibility upgrade.
For NA owners, the visual payoff is huge because the original rear lighting is simple and clean, which means a modern sequential module can add sophistication without clutter. NB owners benefit too, especially if the car already has other exterior updates like a ducktail, lip kit, or smoked lens treatment. If you are building around a cohesive rear-end theme, consider pairing the lights with NA ducktail styling or NB ducktail spoiler styling for a balanced OEM-plus look.
From a community perspective, sequential LEDs also fit the Miata ethos: lightweight, simple, and highly personal. Enthusiasts love upgrades that feel like they belong on the car, and the best assemblies do exactly that. They preserve the tail light shape, keep the rear end tidy, and add just enough modern tech to make the car feel refreshed rather than overdone.
Pro tip: If your Miata is a regular night-drive car, prioritize brightness and lens clarity over the most aggressive animation. A tasteful sequential pattern that is easy to see always beats an overly flashy setup.
Custom Layout Options: What to Look For Before You Buy
One of the biggest advantages of modern sequential LED assemblies is layout flexibility. Some units use a dedicated sequential strip for turn signals, while others integrate brake, running, and indicator functions into a more compact board. On an NA or NB, that layout choice affects both appearance and performance. A clean layout should preserve the original lamp geometry while improving signal separation so brake lights and indicators never look muddled together.
Look closely at whether the unit is designed around a full replacement housing or a retrofit board that fits inside the OEM lamp. Full assemblies usually offer a more finished appearance, better heat management, and stronger light output, while retrofit layouts can be more affordable and easier to service. If you want the rear end to stay visually stock from a distance but modern up close, a well-designed retrofit is often the sweet spot.
Lens color and housing finish matter too. Red-on-red designs tend to look factory-correct on NA and NB chassis, while smoked or tinted versions can deliver a more aggressive style if the rest of the car is similarly darkened. Be careful not to overdo tinting, though; too much smoke can reduce output and make the sequential pattern harder to read in daylight. The best builds strike a balance between aesthetics and safety.
For enthusiasts looking to round out the rear styling package, it helps to think of the tail lights as part of a broader design language. Complementary upgrades like a NB ducktail spoiler or a NA rear diffuser can make the sequential effect feel intentional, especially on cars with lowered suspension and wider wheels.
| Option | Best For | Pros | Trade-Offs |
|---|---|---|---|
| Full replacement LED assembly | Show builds, cleanest finish | Best integration, strong output, polished look | Higher cost, more involved install |
| Retrofit LED board | Budget-conscious upgrades | Affordable, retains OEM housing | Fitment and brightness vary by brand |
| Smoked sequential lens | Aggressive styling | Modern appearance, custom character | Can reduce daytime visibility |
Wiring Harnesses, Load Resistors, and Hyper-Flash Fixes
Hyper-flashing happens when the car’s flasher circuit sees less electrical load than it expects. Since LEDs draw far less current than incandescent bulbs, the relay thinks a bulb is out and speeds up the blink rate. On an NA or NB, that can be fixed in a few different ways, but the best solution depends on the specific assembly and how the car is wired.
The cleanest route is usually a proper LED-compatible flasher relay. This is often preferable to load resistors because it reduces heat and avoids wasting power. However, depending on the Miata’s model year and the exact tail light kit, some setups still require resistors or a hybrid solution to maintain correct turn signal behavior. If the kit includes a dedicated wiring harness, make sure it is pinned correctly for brake, running, and signal circuits before you power anything up.
Load resistors do work, but they should be mounted on metal and away from plastic trim because they get hot under load. That is why many builders prefer a relay fix first, then use resistors only if the turn signal logic or bulb-out warning behavior still needs correction. Always test with the engine running, headlights on, and hazard lights activated so you can confirm the sequential pattern remains consistent under real voltage conditions.
For owners who enjoy doing their own wiring, it is worth checking the car’s rear harness carefully before splicing. Older connectors may have corrosion or brittle insulation, especially on garage-kept but aging cars. If your project includes other rear-end work, our Miata maintenance and wiring resources can help you diagnose electrical issues before they become install-day headaches.
Installation tip: Use heat-shrink butt connectors or soldered joints with proper insulation. A clean electrical install is just as important as the light itself, especially on a car that may see rain or track-day vibration.
Install Checklist for a Clean, Reliable Result
Before you begin, disconnect the battery and lay out all components on a clean bench. Confirm that both left and right assemblies match, that the harnesses are labeled, and that you have the relay or resistors on hand if needed. A dry fit is worth the time because it lets you verify connector orientation, gasket seating, and trunk access before any wiring is finalized.
During installation, inspect the taillight seals and surrounding bodywork. The NA and NB trunks can trap moisture if a gasket is pinched or a screw is over-tightened, so make sure the housing sits flush and evenly compressed. If the LED assembly uses a control module, secure it away from water intrusion and moving trunk hardware. Vibration is the enemy of long-term reliability, so every connector should be locked, taped, or heat-shrunk in place.
After the lights are installed, cycle through parking lights, brake lights, reverse lights, hazards, and turn signals. Watch for timing irregularities, delayed sequencing, or one side illuminating differently from the other. If the sequence is too fast or inconsistent, revisit relay compatibility before assuming the lamp is defective. The best installs look factory-smooth and behave the same every time the key is turned.
If you are building a more complete rear-end package, this is also a great time to consider complementary chassis updates. A cleaner rear visual often pairs well with NB styling pieces, a refreshed interior, or other Miata parts from the TopMiata shop that keep the car cohesive rather than pieced together.
Choosing the Right Sequential LED Setup for Your Build
For daily drivers, the priority should be reliability, visibility, and a pattern that remains easy to read in traffic. For track-inspired street cars, a sharper smoked lens and crisp sequential animation can complement the rest of the car’s functional aero and aggressive stance. For show builds, the visual harmony between tail lights, paint condition, and rear accessories matters most.
Whichever direction you take, remember that the NA and NB Miata reward restraint. The car’s design is already iconic, so the best sequential LED upgrade is one that enhances the original shape rather than overpowering it. A good setup should look like Mazda could have engineered it if the technology had existed when the car was new.
That is the real appeal of this mod: modern function, classic proportion, and a rear-end signature that feels personal every time the indicators sweep. Done right, sequential LEDs make your Miata look newer, safer, and more complete without sacrificing the small, honest charm that made it special in the first place.
Quick Buyer’s Checklist
- Confirm chassis fitment: NA and NB housings and harnesses are not always interchangeable.
- Check brightness: Daytime visibility matters more than a flashy animation.
- Verify relay compatibility: LED-compatible flashers prevent hyper-flash in most installs.
- Inspect sealing: Good gaskets and clean mounting prevent moisture issues.
- Plan the full look: Match the lights with rear styling for an OEM+ finish.
For a deeper look at the MX-5’s heritage and lighting-friendly chassis evolution, see the official Mazda resources at Mazda’s official site and the model history overview at Mazda MX-5 documentation. Understanding the platform makes every upgrade more rewarding.